Who doesn’t love the beautiful, classic look of log cabins? They communicate comfort, coziness, and a rugged beauty that has truly weathered many design trends. However, they require regular maintenance and upkeep to preserve that classic beauty. So, whether you’re the proud new owner of a beautiful log cabin in need of some repair or an experienced homeowner looking to maintain your log cabin, this is the article for you! Here we give you the ultimate how to when it comes to staining your log cabin and unpack all the nitty gritty details from costs and amounts to time and tools. Plus you’ll learn about when it is best to hire the experts for a thorough and professional stain job! Ready to tackle staining your log cabin? Let’s go!
5 Steps To Staining A Log Cabin

1. Gather Log Stain and Materials
The very first step to this whole process is gathering the right materials and tools. To effectively complete this project, here are some of the materials you will need:
- High quality wood stain
- Wood cleaner
- Protective gear (mask, goggles, gloves)
- Sprayers
- Rollers
- Long-handled paint brushes
- Palm sander with vacuum attachment or blaster
- Drop cloths and rags to avoid messes
Starting the project with high-quality materials and tools is critical to staining your log cabin. The last thing we want to happen is for you to do this hard work and then redo the stain job in a year or two. Take the necessary time to acquire all your tools and choose the best stain before undertaking this project. Ok, now on to prepping the cabin.

2. Prep Log Cabin
Before any staining can happen, the logs have to be thoroughly prepared. While it might be tempting to short circuit this step, we advise to carefully prepare the best for the best finish possible. Here’s what needs to get done:
- Check for any damage and structural compromise before undertaking the project
- Wash the logs free of dirt and debris using a mild detergent and gentle pressure from a pressure washer. Always make sure to start from the bottom up when cleaning so there aren’t streaks left on the logs
- Rinse the cleaner off by going from top to bottom
- Sand off any old stain, glaze, or finish on the cabin. A palm sander is a good option for this if you choose to sand it. Many experts also recommend media blasting, with glass or corn cobs, especially if you have a larger log cabin.
3. Apply First Coat of Stain
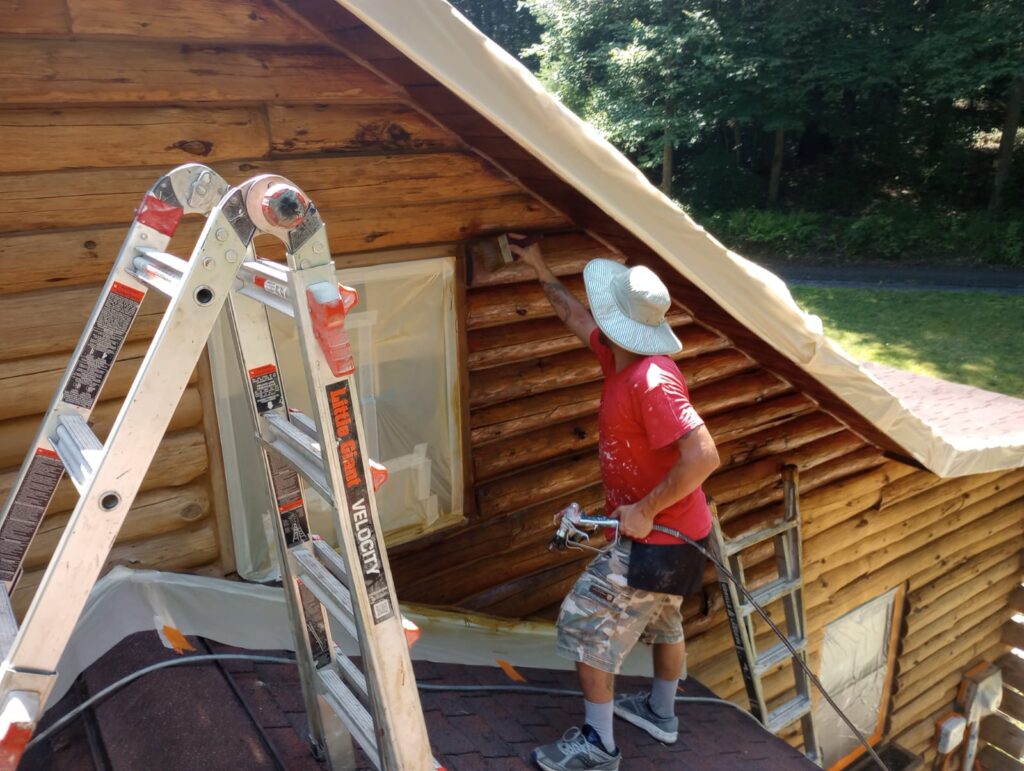
Finally ready for the “real” part! After choosing a high quality log cabin stain (we recommend the Sashco brand) begin applying the stain. Using a brush, roller, or sprayer, apply it with even, long strokes, making sure to thoroughly cover all areas. Work your way from top to bottom, wiping away any drips or runs with a clean cloth. It is important to apply it heavily yet also evenly to avoid a patchy look.
4. Backbrush
This is where you may need a friend to help you out. To avoid a patchy, splotchy finish, it is critical to “back brush” or work the finish into the logs. It is especially important if you used a sprayer, but even if you applied the stain with a brush, someone should come behind the first person and work the finish into the cabin with a brush. Brushing back and forth will allow the stain to settle into the logs thoroughly, which ensures a smooth professional finish.
5. Dry and Apply Second Coat
You’re almost finished with your project! It is recommended to wait at least 24 hours in between coats for even coverage. When it is dry, you can go ahead and apply the second coat. Depending on the stain you used, you may want to put a clear stain on top of the two coats as well. Our company uses high quality Sashco stain, and we apply four coats for maximum protection and smooth finish.
And there you have it, a beautiful stain job on your log cabin is complete! Keep reading to answer your common questions when it comes to staining log cabins!

Log Cabin StaingingFAQ’s:
Maybe you’ve read through the detailed 5 step process, but there are still a few things you’re wondering about. We got you covered! Below are 6 commonly asked questions when it comes to staining your log cabin:
1. How Often Do You Stain Log Cabins?
As experts, we recommend staining your log cabin every 4-6 years, although that number can vary. Factors like the extent of previous damage or regular UV exposure can impact the timeline. Typically however, this is the best time frame for maximum efficiency and maintenance.
2. How Much Does It Cost to Stain a Log Cabin?
Let’s face it: staining log cabins can get expensive. While costs always vary, and you can always get a free quote from a local company, below is a table breaking down average national costs.
| Item | Description | Cost Range |
| Stain | High quality log cabin stains | $25-60 per gallon (1 gallon typically covers 100-200 square feet) |
| Primer/conditioner | High quality log cabin primers and conditioners for surface preparation | $15-30 per gallon |
| Cleaning supplies | Brushes, detergents, cleaning products | $50-150 |
| Sanding/media blasting | Sandpaper, media blaster | $0.10- $2 per square foot (for sanding) $0.20-$1 per square foot (for media blasting |
| Labor costs | Cost of your personal labor or a professional company | $30-70 per hour |
| Renting equipment | Pressure washer, rollers, sprayers | $75-200 per day |
| Protective gear | Mask, glasses, gloves | $20-50 |
| Misc. materials | Caulking, wood filler, putty knife, drop cloths | $20-90 |
Here is another table with the specifics for a 1,000 square foot log cabin.
| Item | Estimated Cost Range | Total Estimated Cost for 1000 sq ft cabin |
| Stain | $25-60 per gallon (1 gallon typically covers 100-200 square feet) | $250-600 (for 5 or 6 gallons) |
| Primer/conditioner | $15-30 per gallon | $150-300 (for 5-10 gallons) |
| Cleaning supplies | $50-150 | $50-150 |
| Sanding/media blasting | $0.10- $2 per square foot (for sanding) $0.20-$1 per square foot (for media blasting | $100-$2,000 |
| Labor costs | $30-70 per hour | $600-$4000 (for 20-40 hours) |
| Renting equipment | $75-200 per day | $225-$800 (3-4 days) |
| Protective gear | $20-50 | $20-$50 |
| Misc. materials | $20-90 | $20-$90 |
As stated earlier, these costs are estimates based on national averages and your specific price will depend on your individual log cabin. But this is a guide to get you thinking about rough numbers when it comes to staining your log cabin.

3. Can I Stain a Log Cabin with Chinking?
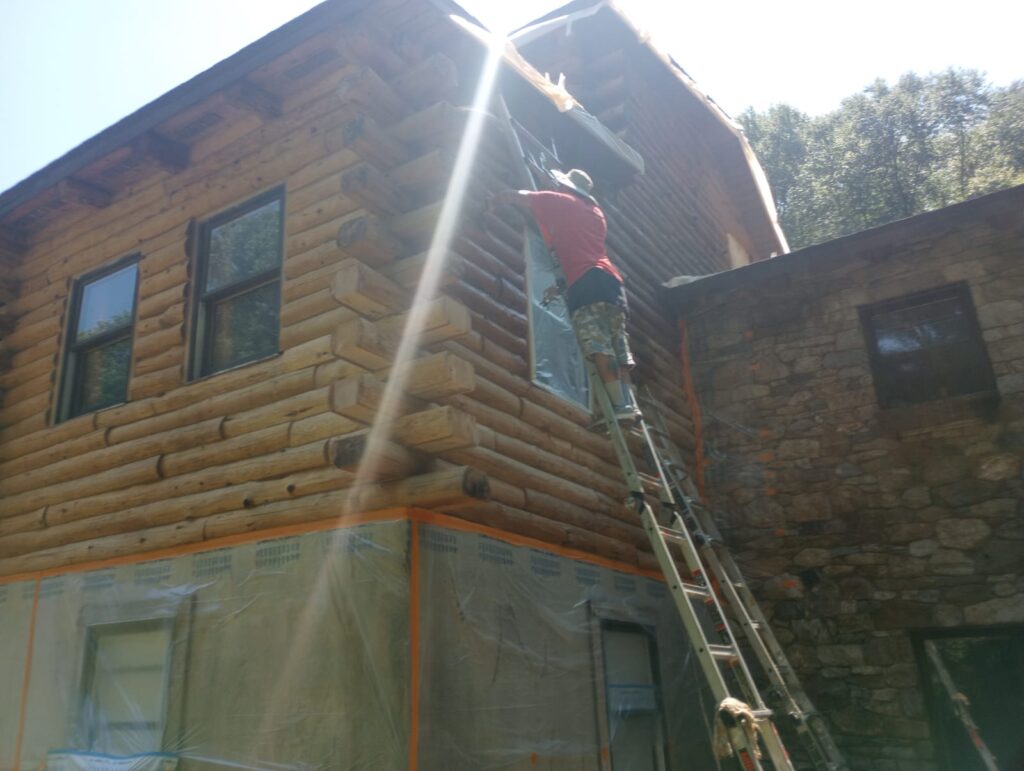
Yes! Many log cabins have chinking in between the logs for additional sealing and it is possible for you to stain the cabin. It can be a little tricky though and you have several options. One option is to try to tape off all the chinking and stain around it. However, due to the stain’s runny nature, this is a very difficult option and will cause a lot of additional headaches. Another option is to have the chinking be the same stain color as the logs. In this case, you can simply spray over everything, although being mindful that chinking can sometimes expand and contract. The final option is to spray the whole log cabin and then go back and paint the chinking with your color of choice. This creates the contrast look you may be desiring without the headache of trying to tape everything off.
4. Can I Stain a Log Cabin without Sanding?
As mentioned earlier, media blasters are a great alternative to sanding your log cabin. Many experts recommend cob blasters or glass as the media. This option is great for larger-scale projects, and often you can rent a media blaster locally. However, remember that it will require a large amount of media, usually upwards of close to 2,000 pounds.
5. How Do I Maintain My Log Cabin?
Although we already said it is important to stain your log cabin every 4-6 years, regular maintenance is needed more often. Prevention is key to keeping your log cabin looking beautiful and alluring. Here are three ways to maintain your log cabin:
- Regular cleaning: A mild detergent and water are great for regular cleaning of your log home. You can also use a pressure washer to wash off any dirt and debris, but you want to be careful not to damage the wood with too much pressure. Usually a pressure of 500-800 psi is safe for your log cabin and will still remove dirt and debris. If you are uncertain if your logs can handle the pressure, you can check with your cabin manufacturer for specifics.
- Regular inspections: The best way to prevent extensive work on your log cabin is by routinely checking for evidence of damage. Look for cracks, stain that is peeling, or evidence of termite damage. It is much easier to fix a small area instead of an entire log cabin, so keep your eyes open for any damage.
3. Landscape control: One of the things people often don’t realize is the impact bugs and other insects can have on taheir log cabins. By taking preventive measures to keep your land around the cabin clean and as pest free as possible, you will ensure better cabin health. If you notice insect damage, consider an insecticide treatment to prevent further damage.
6. When Should I Hire a Professional?
Truthfully, sometimes we don’t have the time to tackle these projects alone. There is no avoiding the fact that staining log cabins takes hours and weeks of precious time. In addition, buying all the tools and stains gets very expensive. So before you tackle this huge project, honestly ask yourself these three questions as a guideline:
1. Do I have the skillset to get the look I want?
2. Do I have the necessary time to finish this well?
3. If I accomplish this myself, will it make my life easier or bring more stress?
Need Help Staining Your Log Cabin In PA?
Ready to get a professional cabin staining company to do the job. Thankfully, if you live in PA, we are ready to help you get started! We can provide you with a top quality, professional stain job for your log cabin. Get a free quote today or contact us to get started!